
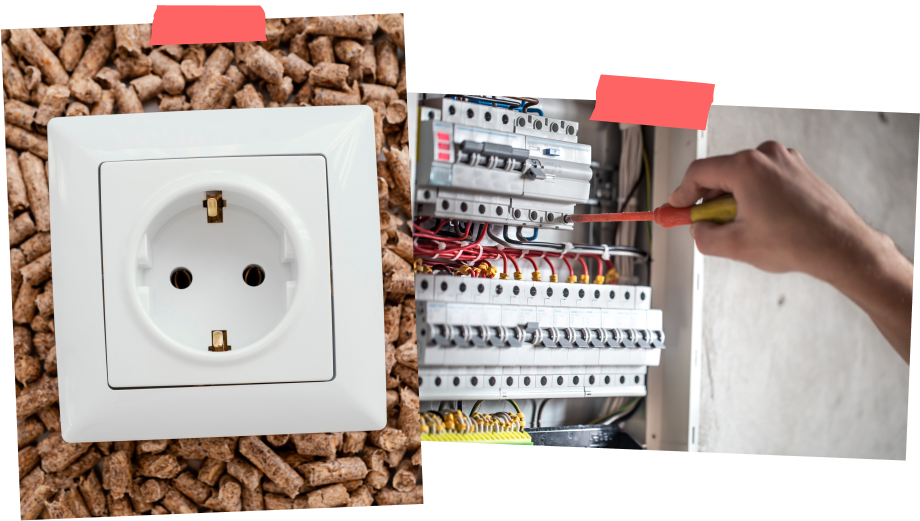
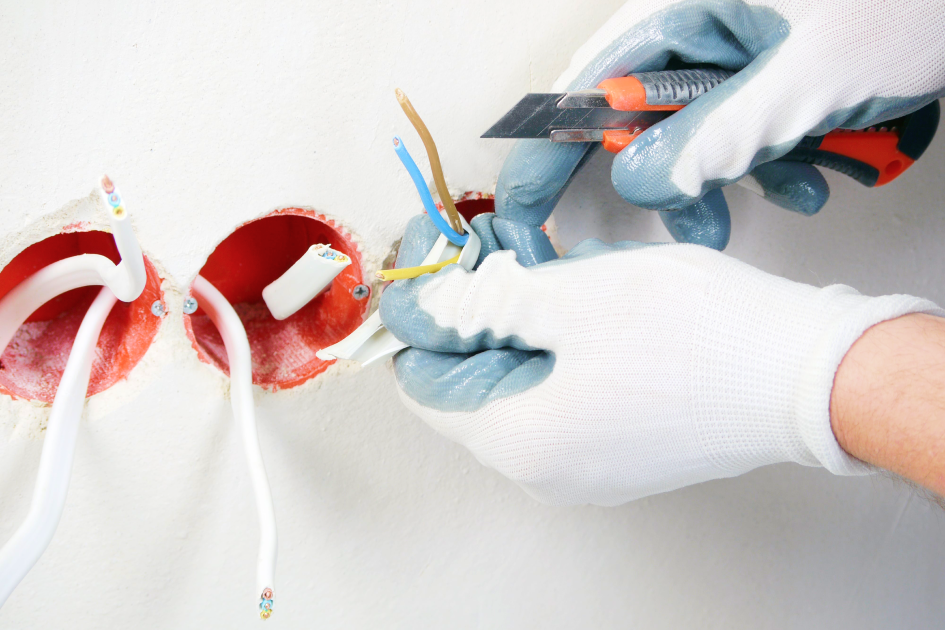
When it comes to electronics and technology, cables are an unavoidable hassle. There are many ways to disguise cables and wires, but nothing can beat the look of a wire-free room that in-wall wiring provides. And though it might seem like a daunting task, you definitely can complete your own in-wall wiring!
Read on for tips and tricks for the best ways to complete seamless wiring yourself, in unfinished spaces and behind drywall.
Can You Do In-Wall Wiring Yourself?

Before we get into the basics of in-wall wiring and the different methods, you might be wondering if you can do it yourself without hiring a professional. The answer is generally, yes! But let’s break it down a bit.
Suggestions for Success
In most municipal areas, homeowners are allowed to install their own low-voltage wiring without a permit or other permissions. But each state tends to have particular codes when it comes to allowance in renovations and at-home electrical wiring, so make sure to check with the local authorities to ensure you are following all guidelines and rules.
Even if you are new to home renovations in general, you can still try your hand at wiring.

It’s especially easy if you have any kind of unfinished basement, attic, or crawlspace, to avoid intensive drywall intrusion.

Most experts recommend that new home renovators should stick to such unfinished areas for primary wiring, even it requires the use of long runs of wire to get to your final destination.
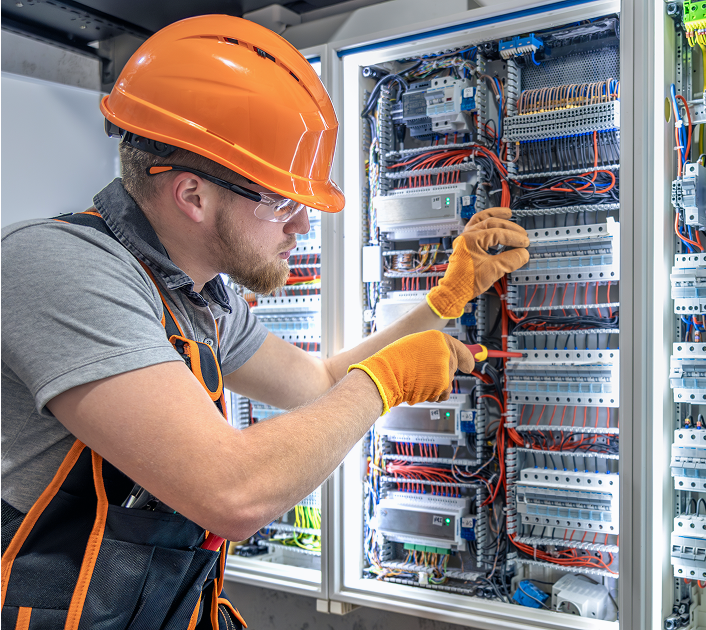
Additionally, experts recommend calling in an electrical inspector to connect the cables to the main electrical supply and ensure all connections are safe.
First Things First
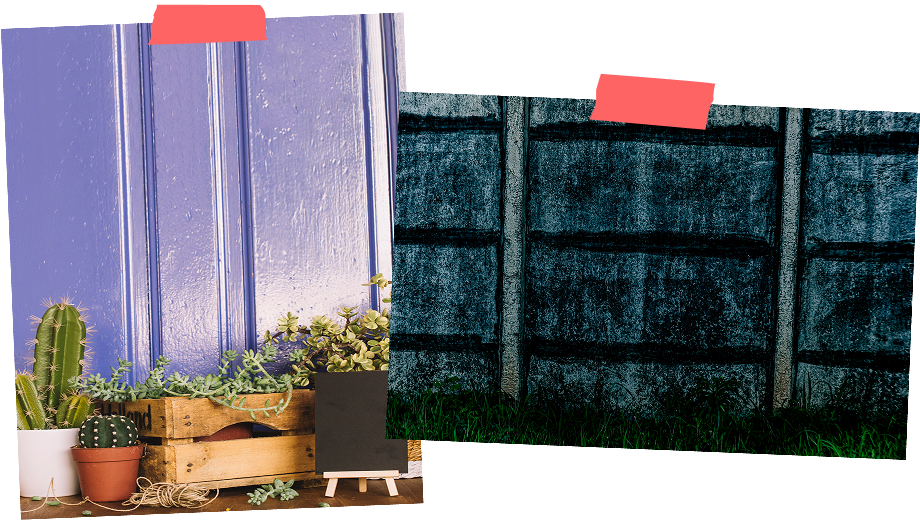
Before drilling into any surfaces, make sure you know what’s behind them. While an applicable tip for any home project, from hanging framed photos to mounting a TV, it’s even more crucial to familiarize yourself with what lies behind the surface of your walls when getting ready for in-wall wiring.
Pay attention to locations of light switches and sockets, and the likely places where electrical wires, water pipes, or gas pipes might run.
It’s important not to be too over-zealous and ensure you have a good idea of where all the delicate pipework and wiring of your house is so you don’t cause any irreparable damage to those systems!
Supplies for In-Wall Wiring: Everything You’ll Need
Before you begin any in-wall wiring projects, make sure that all the supplies necessary are readily available. For successful wiring, the following items are what you need to have on hand and ready to be used.
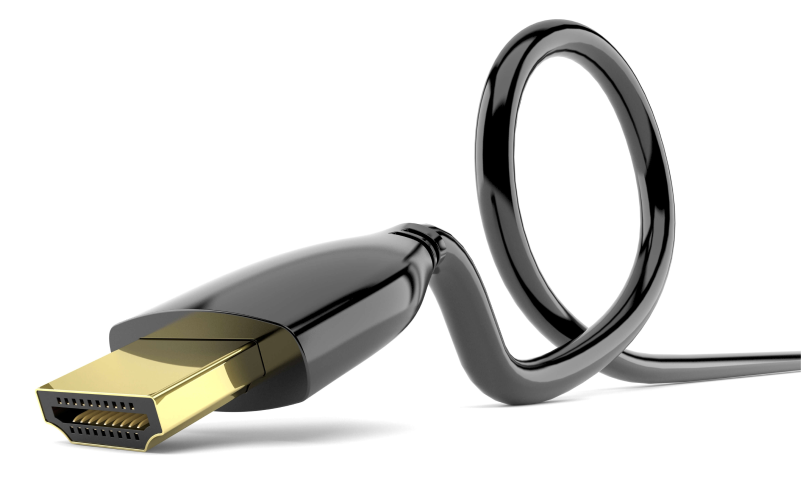
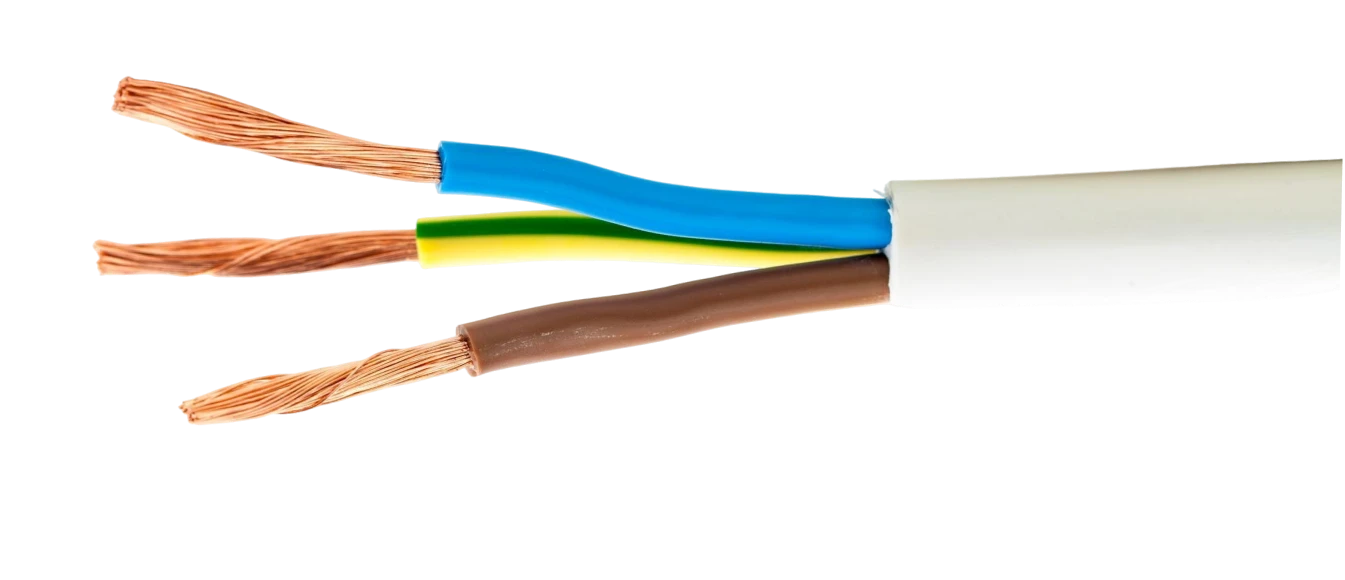
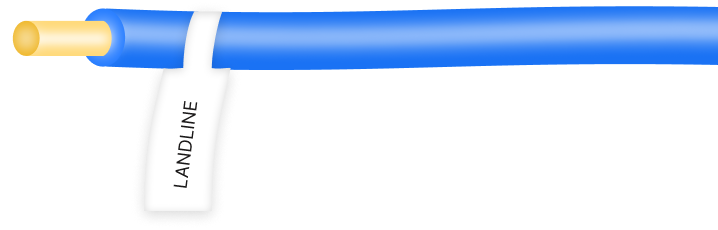
Audio and Video Cables
Though most audio and video patching cables are not suitable to use for in-wall wiring, you can apply some workarounds.
Use baluns for analog audio and visual connections, paired with in-wall network cables, RG-6 coaxial cables, or fiber optic cables to transfer audio and video signals over longer distances.
Fiber optic HDMI cables are likely the best for this application, as they keep a strong signal over long distances and are immune to interferences from other signals and devices.
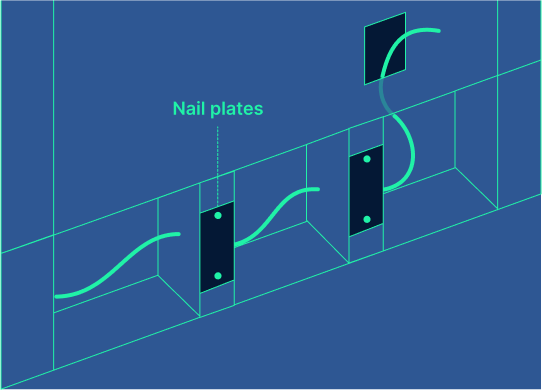
Nail Plates
These are essential for running wires near any wooden structural elements within your walls. Nail plates prevent nails or screws from piercing the cable at a later date, in case of drywall penetration right where you’ve run your wiring. One nail from a picture frame can disrupt your entire in-wall wiring system, so nail plates are an important thing to keep on hand.
Whenever you drill a hole that is 1 ¼” or less from the surface of any wooden structure of your house, or notch onto any wooden part, make sure to protect the cable with a nail plate.
These wooden parts include any blocks, braces, joists, plates, or studs.
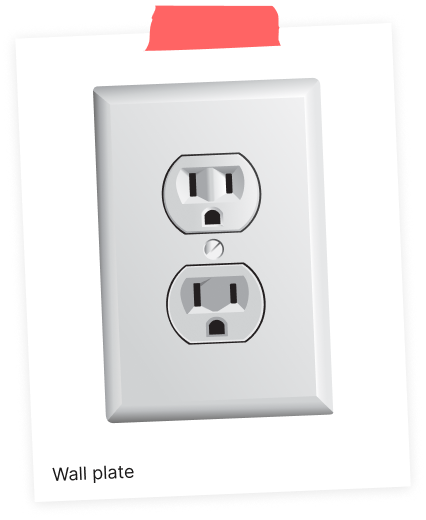
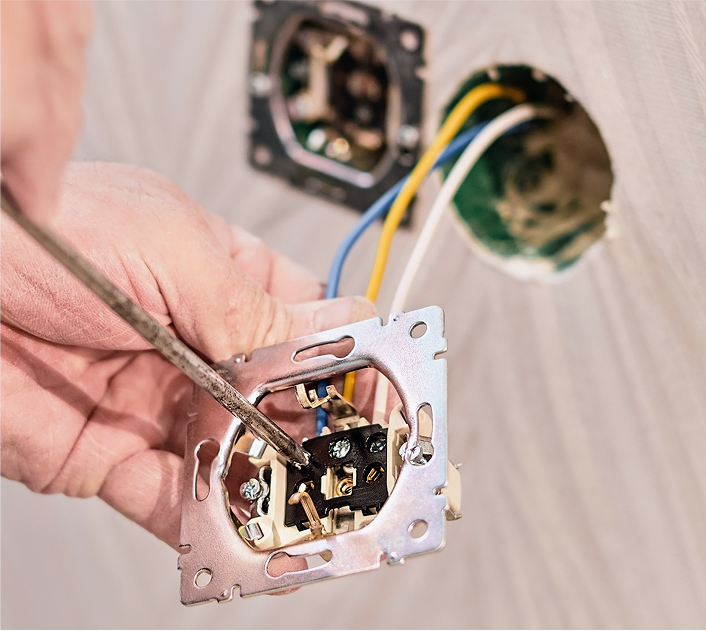
Outlet Boxes
Also known as junction boxes or J-boxes, these hardware items are used to mount wire outlets, volume controls, and other in-wall devices.
The key is to look for J-boxes that are deep enough to fit your in-wall devices (typically around 2 ¾”), as you will need to nestle the outlet components into this hardware to keep it secure within the wall.

Whether or not you need a back on the junction box bracket depends on the wiring types used—when terminating wires into a wall plate, backless brackets are acceptable; contained brackets are more useful for a switch or dial-controlled panels, such as volume or light controls.
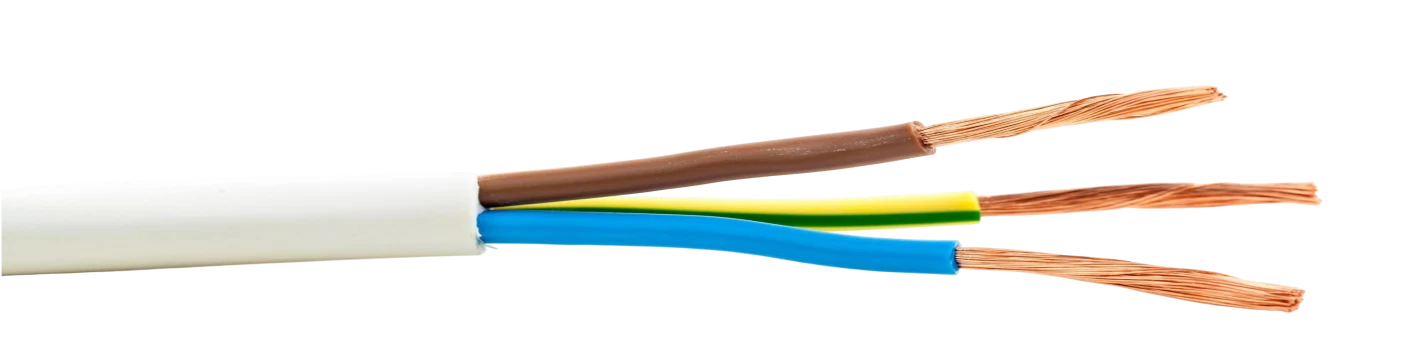
Proper Speaker Wire Gauges and Conductors
Because speaker wire comes in a variety of gauges and types, it’s important to have the proper size wire for your project. Speaker wire for in-wall installation is categorized in gauge thickness and number of strands in the cable, and you will typically use one of two types, depending on the distance to be wired:
refers to a 16-gauge wire with 2 conductor strands inside.
refers to a 14-gauge wire with 4 conductor strands inside.
In general, the lower the number of the gauge, the thicker the wire—for wiring a run longer than 50 feet, it is suggested to use the thicker 14-gauge wire; for runs of less than 50 feet, you can use the thinner 16-gauge wire. Look for speaker wire that has a CL2 or CL3 rating, that is specifically for placement in a plenum-rated airspace such as your in-wall space.
How Much Wire?
You might be wondering how much wire is too much, but when purchasing lengths of wire, you will want to have a bit extra. Allow extra wire length for any connections to be made, up to 2 or 3 feet.
When measuring the route of the wiring, give yourself between 10% and 15% extra wire to account for any unexpected obstacles or impassable areas.

Most home wiring experts recommend investing in at least 10% more wire than you think you will need, no matter how confident you are in the calculations.
Wall Plates and Brackets
Depending on how many and what kinds of wall mounted receptacles and in-wall volume controls you need for your home setup, you will require wall plates and brackets.
These are mounting equipment items that support controls and receptacles, stabilizing the outlets for any interaction or excess cord weights that might jostle the installations.
When it comes to installing speakers and sound equipment in the wall, special brackets known as “rough-in” or “hole-saving” save time and excess drywall removal when applied directly into the structure of the wall before being finished.
These brackets make it much easier to install your speakers after drywall has been installed and create a more seamless look to your space.
Organization Supplies
When it comes to any kind of wiring project, DIY or not, it’s crucial to keep every component well organized and labeled for ease of access and installation.
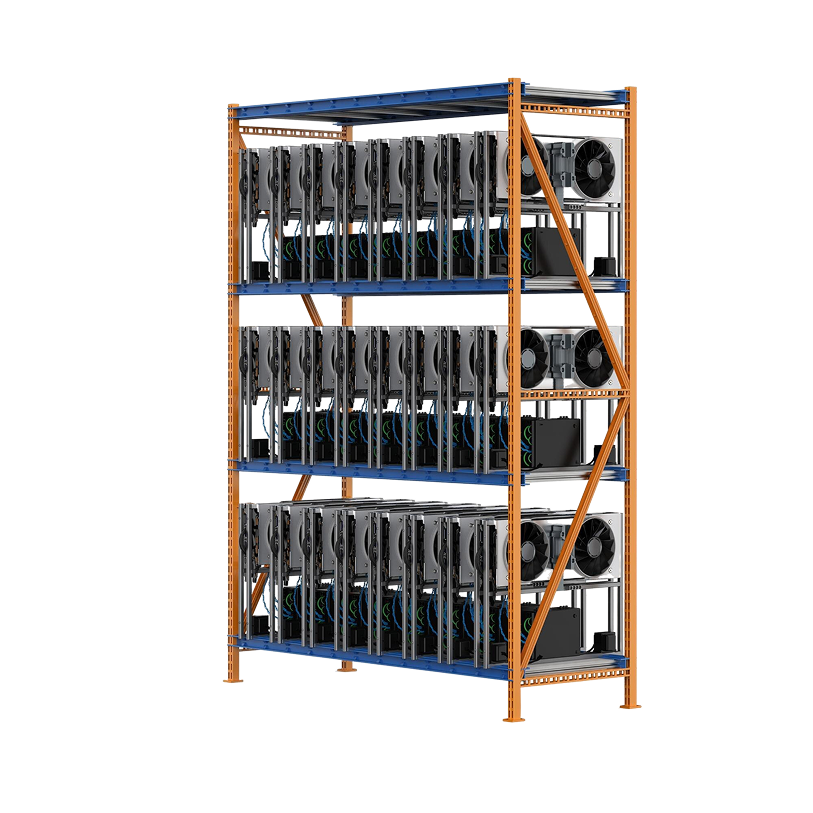
Component Racks
If you want are aiming for a seamless and wireless look, component racks are a huge help for organizing your goods.
Whether it’s for stacking your receiver, consoles, or network boxes neatly away, or having a dedicated place for computer equipment and wiring to exist, component racks come in all sizes and are excellent organizational tools.
Wire Labels
Before you start implementing wires into your walls or equipment, make sure that you apply wire labels to each end.
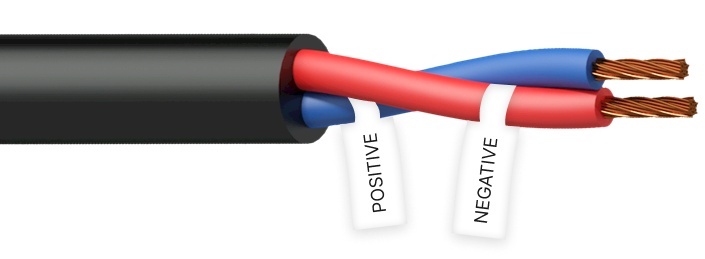
Mark positive and negative ends (especially if they are in the same wire casing).
Mark types of wire, and what each wire or cable is used for.

This makes it difficult to mix up the speaker wires with the HDMI or aux cords, plus it saves you the hassle of tracking them all back to the source.
Opting for self-adhesive and color-coded labels will keep your cables and wiring clearly marked.
Wire Ties and Attachments
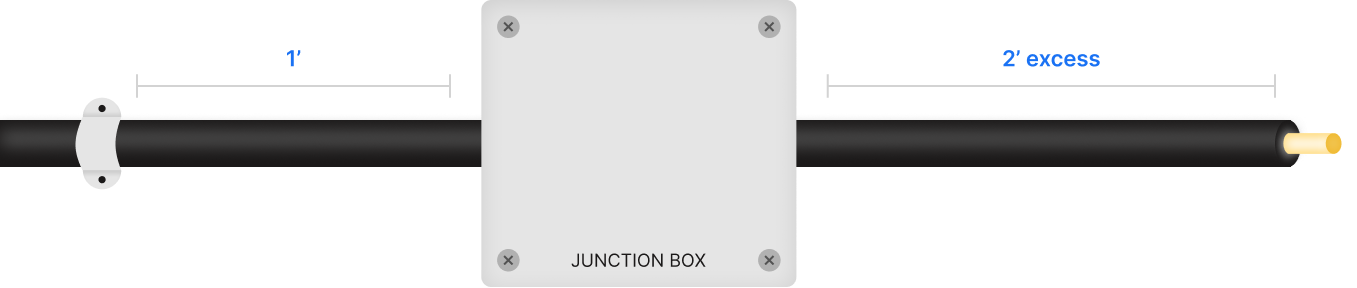
Professional electricians attest that wiring must be supported 4 ½’ that it is run, and always within 1’ of a junction box, on either side. The easiest way to achieve this is through wire ties and wire-tie clamps, which can be stapled or otherwise secured into the wall structure.

Implement a reusable wire wrap to bundle cables at the back of components when more than one wire is present to prevent tangles and uneven tugging on singular cables.
A bunch of cables secured together is much more stable than single cables layered on top of each other.
Tools for In-Wall Wiring: What To Have On Hand

Rather than reaching for a tool just to find that it’s still in the garage, or that you haven’t picked up from the store or a neighbor yet, here are some of the key items that you will need for in-wall wiring.
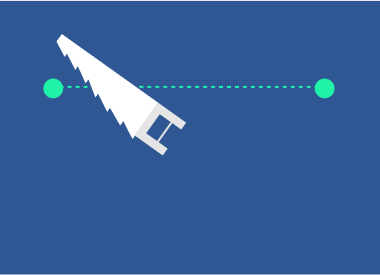
Fish Tape or Fish Sticks
This tool is incredibly useful to thread and pull cabling behind finished walls, ceilings, or floors. The semi-rigid tape at the end of the spool attaches to your wiring or cable and allows you to maneuver it from one end of the space to the other, behind a surface.
Attach your wire to a fish tape for pulling from one location to another easily:
Strip about 2” of the jacket off the cable.
Bend the conductors back over the wire hook.
Wrap the entire hook and cable joint with electrical tape, tapering at the end for smooth guidance.
Stud Finder
For any in-wall installations, you will need a good stud finder. Some models can differentiate between types of in-wall systems, such as AC wires, metal pipes, gas or water mains, and more.
Investing in a good stud finder will make it much quicker to find obstacles hidden in your walls, and correctly plan your in-wall wiring plan, and avoid excess wiring being wasted on routing around studs or joists.
Wire Tools
If you are installing a large amount of wiring for speakers or other such equipment, a good wire cutter/stripper is essential to make the process go much easier.
While you can certainly strip the casing off of wires and cables with a penknife or an X-Acto knife, a professional wire stripper can remove 12-to-22-gauge wire casing in the pull of the trigger, fully adjustable to strip the exact amount of insulation necessary.
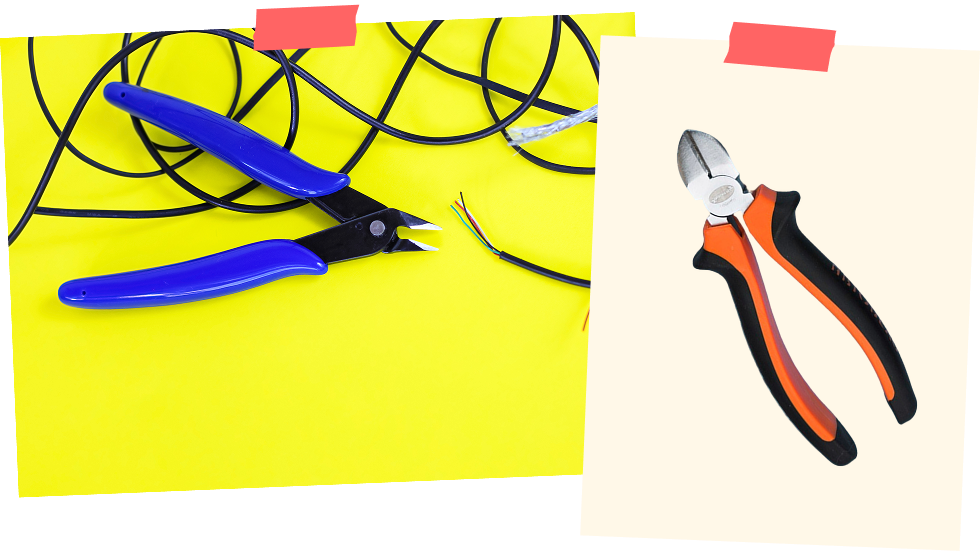
In addition, specialized tools or attaching connectors to coaxal and network cables is a must. Investing in these tools will make your project run much smoother!
Miscellaneous Tools
The following are some additional tools that make in-wall wiring much easier to complete.
Installation Tips for Perfect In-Wall Wiring: How To Do It Right
When it comes to the actual installation of your wiring, some key considerations include whether the space is finished or unfinished. Keep reading for tips on in-wall wiring depending on new construction, or wiring through existing structural elements.
In-Wall Wiring for New Constructions and Unfinished Spaces
By far an easier task if you are looking to do some in-wall wiring, unfinished rooms or new constructions are a prime place to run wires or cables yourself. While there are situations where you might have to route cables and wires through structural members like studs, joints, or rafters, it’s much easier to accomplish your in-wall wiring if you can run the lines along the surfaces of these frames in unfinished walls.
Drilling Holes into Studs and Joists
The idea of drilling holes into structural elements of your home may well seem daunting at first, but if you follow some important tips, you will find the process much easier than anticipated!
1
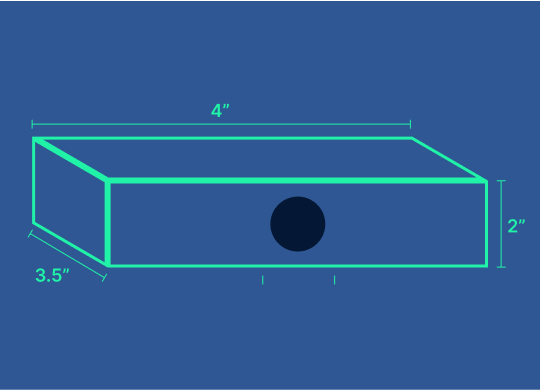
Always drill your holes in the center of each stud—the diameter of an individual hole should not exceed 40% of the stud’s total width. So, for a standard 2” x 4” stud with a 3.5” width, your holes cannot be more than 1.4” in diameter.
2
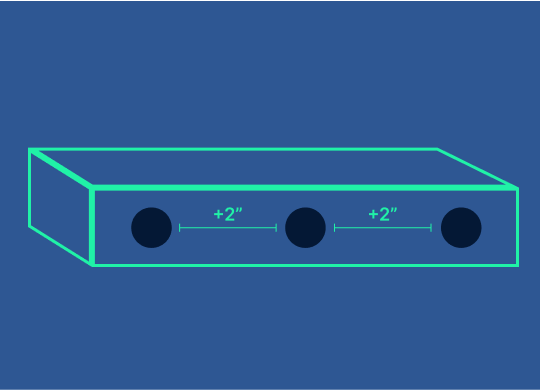
Keep all the holes centered vertically on the joist—do not make perforations within 2” of either the top or bottom of the joist as this will affect its structural integrity negatively.

3
All holes must be a maximum size that is equivalent to 1/3 of the joist’s depth. Instead of risking a larger hole for one massive wire bundle and compromising the joist’s structural integrity, opt for drilling multiple holes for smaller, separate bundles of wires.
4
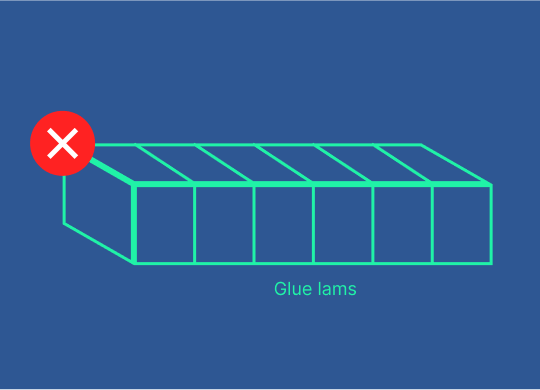
Never make holes in laminated support beams (also known as “glue lams”) or headers, the supports that exist over doors, windows, and arches. These are extremely important load-bearing elements of your house’s structure and should never be perforated. Find a different way around these obstacles for your wiring.
Doubling Up Holes: Dos and Don’ts
It’s important to never use the same hole for both an AC wire and any type of low-voltage wire—this can result in poor performance or even wire damage, risking heightened fire hazards.
In general, do try to avoid installing your wires alongside AC power cables for more than 5 feet, and keep all wires at least 1 foot away from power lines throughout the entire wire run.
If wires and power cable must run parallel, keep them a minimum of 12” apart, and if they must intersect, keep the lines at 90° angles.
You can safely run audio and video cables in the same bundle as some other lines, including data, phone, security, and other low-voltage wires.
Wire Considerations
When it comes to wire itself, it can be tricky to get it threaded exactly where you want it. Try these tips for getting your wiring placed easily and effectively!
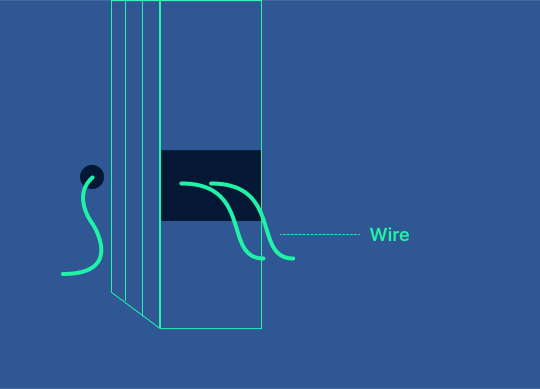
Guiding Wires
It can be difficult to pull your wires through once your unfinished space has been transformed with drywall. So, to ensure easier mobility of wiring, the diameter of holes should be twice as large as the total diameter of the whole wire bundle that you plan to thread through it.
Since hole sizes are limited when it comes to surfaces space, you might need to implement a series of multiple holes and separate your wires into smaller bundles.
To illustrate, if you picture a bundle of cables that is slightly smaller than ¾” around, you will need a hole around 1 ½” in diameter for a comfortable fit.


Dressing Wires
Once a wire or bunch of wires has reached the final outlet location, you need to dress it: this involves preparing the ends for safely making connections to equipment after the drywall has been installed. You will have to coil the excess wire away neatly and temporarily secure it to the junction box to prevent it from falling back behind the drywall as it is placed.
Here are some tips for successfully dressing your wire terminations:
Dressing Wires
Add additional support to the wiring within 1 foot of the junction box, and at each bracket, dress at least 2 feet of the wire for later connection and secure it with wire ties.
Make sure the wire ties are not tight enough to pinch the cable. In general, it is always better to have more length of prepared wire than less when the time comes for connecting to your equipment!
Photographs
Drywall will completely cover the wires, so it’s a good idea to take some pictures of the location and the wiring setup so that you can find it again later.
Wrap Well
Wrap the ends of each wire with plastic bags and tape it securely. You want to prevent moisture from entering the wire bundle, as paint and plaster moisture can cause wires to rot quickly. Also, make sure all wire labels are protected to keep them legible.

Wires and Insulation
Though insulation is primarily found on exterior walls, you can encounter it during interior wall wiring, especially if you are working with a basement, storage room, crawl space, or ceiling space. The key consideration when you find insulation blocking your wiring path is how to fish wire through around it, and not through the fiberglass material of the insulation itself.

Try fishing your wire between that layer of covering and the drywall.

Try fishing the wire along the stud, using it as your guide. It’s easiest to have fish tape on a spool here, keeping the tape curved towards the surface of the stud so it won’t get tugged into the insulation itself.
In-Wall Wiring through Existing Walls and Finished Spaces
When altering existing structures and finished walls for wiring, it’s best to inspect as much as possible before even making the first hole. Go exploring in your crawlspace, and check out the basement or ceiling structures as well as you can.
Using a stud finder that can identify which ways joists and struts run is a good way to identify where empty, wire-able space is.
Identify water pipe and electrical system locations, as well as gas pipes and any other lines that could be disrupted by your wiring.
In the end, be very prepared to cut and patch exploratory holes in your drywall until you find the best possible route for laying your wiring. But if you cut small “pilot holes” in the drywall, and use a wire coat hanger to investigate behind the wall, you might be able to find nearby obstacles and avoid making larger holes.

Make sure that you turn off the power and water in the area that you will be drilling holes into, and be extra cautious not to damage pipes or drill into electrical lines.
Tips for Drywall
When finally placing components, brackets, and outlet boxes in their ultimate destinations, it’s time to cut your drywall. When cutting, apply even pressure and cut the drywall in one piece, on an inward slant—making it easier to patch later if you need to. It’s always better to cut less of your opening at first, and then widen it as necessary for the bracket or component size.
For Rectangular or Square Holes

1
Drill two little holes in opposite corners of the rectangle, where you want the opening to be.
2
Take your drywall saw and carefully, starting from one hole, cut through the drywall diagonally to the next hole.
3
Then, cut out the remaining two corners of the rectangular or square opening.
For Round Holes

1
Begin by drilling two small holes on opposite sides of where you want the opening to be.

2
Apply your drywall saw and cut from one side to the other, before carefully cutting out the rest of the circular opening.
Tips for Plaster and Lath
If you live in a place with plaster and lath walls, or ceilings, it will be more difficult to do your own in-wall wiring. Because plaster does tend to crack and crumble easier than drywall does, be prepared to do a decent amount of touching-up and repair work.
An easier way to install wiring in this instance would be to run out-of-wall wire.
And use baseboards, carpeting, cabinets, decorative wall molding, etc., to cover up the wiring and have your space appear wireless.
Unfinished Basements
One of the best ways to approach wiring a finished room is through the unfinished portion of a basement or storage space. If your walls are accessible from the unfinished basement ceiling, your job will be made much easier.
By measuring the distances from the ceiling to the points on the wall you want your placements to be for any wall plates, speakers, or other equipment, you can use blueprints or visible landmarks such as a plumbing pipe to guide your hole placement.
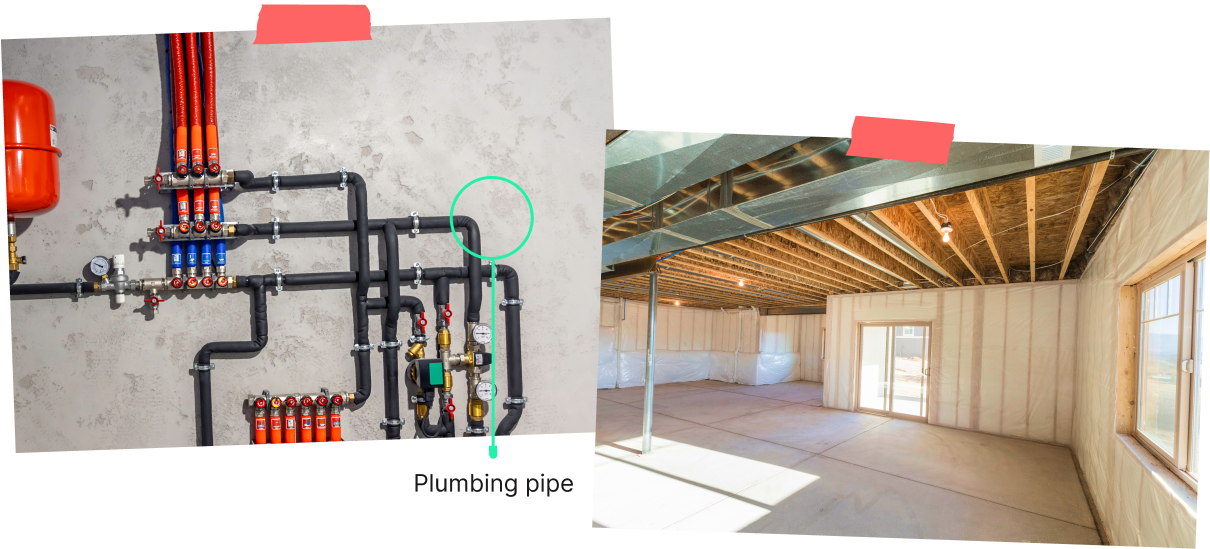
Fish the wires up the wall from the basement on a spool for easy laying, and enjoy a wire-free finished space!
How to Hide Wiring
Sometimes, there is no way to run your entire wire length through the walls, concealed. So, to combat the unsightly scene of a room filled with tangles of wires, here are some ideas for how to run wiring out of sight and out of mind.
Baseboards
If you don’t have an unfinished basement or crawlspace to work with, routing your wiring along baseboards is a great way to hide them.

1
Carefully pry off the baseboards with a thin crowbar and remove a small strip of drywall to expose the studs there.

2
Then, cut a wire channel by scoring and chiseling down a rut in the studs, before fishing the wire from one end to the other.
3
Tuck your wiring securely into the channel and install nail plates at each stud to protect the cable, before re-installing the baseboard.
Cable Concealers
Most home improvement retailers and hardware stores will stock cable concealer kits that you can implement where wiring is not able to run behind the walls.
These kits are low in price and contain the covers and adhesive to allow your wiring to blend into the walls, with slim and sleek designs.
You can also paint the cover channeling to match your décor!
Carpeting
If your space has carpeting installed, conceal wire by tucking it between the baseboard and the edge of the carpet.

1
You generally do not need to remove the carpeting—simply push the wire along the bottom of the baseboards and tuck between the edge of the carpet and the wall, continuing this process as your move along the length of the baseboard.
2
You can allow the component end to emerge from the carpet near the equipment’s connection to reduce the sight of wires even further.
Door Frames
If your wiring needs to traverse a doorway, you can easily use door trim or decorative molding to conceal the wire’s pathway!

1
Carefully pry the trim or molding away from the doorway with a putty knife, a small crowbar, or a chisel.
2
Then, run the wiring between the frame and the jamb, chiseling out a tiny rut in the frame just big enough for the wire if you must.
Speaker Wire Tape
For invisible, permanent wire placement for areas where running cables within the walls is just not feasible, flat speaker wire tape is likely to be the best option.
With an appearance similar to ribbons, it can be used to secure wires to any surface for a seamless and camouflaged look.
You can even paint the external side of the tape to perfectly fit into the color scheme of the wall or baseboard it is attached to!
In-Wall Wiring— How To Do It Right!
Doing in-wall wiring yourself may seem daunting at first, but rest assured—by following some tips and easy steps, you can accomplish a wiring project quite easily. By doing your own small-scale wiring projects in finished or unfinished rooms, you can save money and get to know the bones of your house.
And even if you do decide to hire a professional electrician or renovations specialist, knowing your stuff when it comes to the ins and outs of wiring will help you understand the process and your contractor better!
Useful Links
For more information on in-wall wiring and its considerations, check out some of these useful resources for further guidance and tips.
- Can you do in-wall wiring yourself?
- What should I consider before starting in-wall wiring?
- What supplies do I need for in-wall wiring?
- What are the different audio and visual cables?
- How much wire do I need?
- What organizational supplies do I need for wiring?
- What tools do I need for in-wall wiring?
- What are some installation tips for at-home wiring?
- How do I wire through existing walls and finished spaces?
- What are some tips for cutting drywall?
- What are the best ways to hide wiring?
- What are some helpful resources for in-wall wiring?
- Best Home Movie Theater Seats
- 2Pc Theatre Seating
- Sleek And Luxurious Home Theater Furniture
- Leather Sofa Sets For Sale
- Best Built Couches
- Modern Chair Styles
- Movie Room Sectionals
- Four Seater Recliner Sofa
- Cinema Seating For Sale
- Genuine Leather Chair Recliner
- 2 Seat Chairs
- Durable Sectionals
- Fancy Recliner Movie Seats
- L Shaped Home Theater Seating
- Sofa Theater
- Heated Leather Couch With Massage
- Platform Riser
- Black Top Grain Leather Sofa
- Best Couch For Bad Back
- Wall Recliner Loveseat
- Azure Sofa
- Brown Leather Sofa Recliner
- Home Theatre Decorating Ideas
- Lumbar Support Chairs
- Dark Brown Power Recliner
- Power Reclining Console Loveseat
- Heating Massage Couches For Sale
- Best Tv Chairs
- Home Theater Calibration
- Narrow Theatre Seats
- Home Theater Chaise Lounge
- Furniture Man Cave
- Cinema Stadium Seating
- Best Microfiber Sofas
- Projector Or Tv
- Black Leather Seat
- Revolution Home Theater Seating
- Movie Seat Recliners
- Recliners For Extra Long Legs
- Discount Leather Recliners
- Genuine Leather Chairs For Sale
- Projector Instead Of Tv
- Microfiber Love Seat
- Giant Leather Couch