
Whether you’re making a video to promote a product for your business or to upload to YouTube or TikTok, you might think that the process starts with pressing the record button. However, the bulk of the work actually happens in post-production, when you’re editing your footage into a finished video. The process of editing a video can be challenging, requiring you to make a lot of decisions about what you want to achieve and how to make it happen. In the end, the reward of good editing is a video that you can be proud of, so all of the work is well worth it. But that doesn’t mean that you can’t learn to work smarter, not harder, to get the results you want.
What to Think About Before You Pick Up a Camera
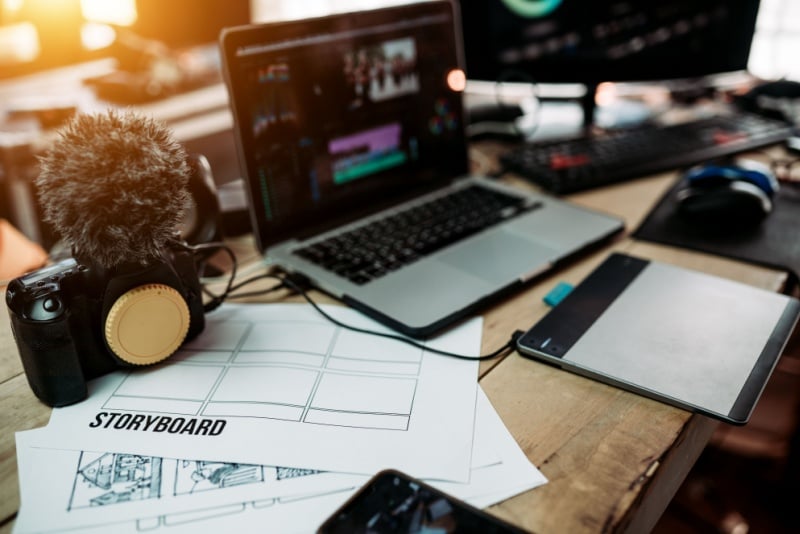
Long before you boot up any sort of video editing software, you should be planning for your final result and what you’ll need to achieve it. That starts with creating a shot list that includes all of the footage you might need to create the final cut. Plan out each scene, every shot you’ll need within that scene, camera movements for each shot, the gear you’ll need (including lenses, sound equipment and lighting), which actors will be in the scene, and where and when it will take place. Taking the time to get organized now can save you a lot of headaches later.
Tips for Shooting Video That’s Easier to Edit
One of the most important things you can do to make editing a video easier is to make sure that you collect plenty of footage. Some of what you record will inevitably end up on the cutting room floor, and you don’t want to have to reshoot because you didn’t get exactly what you needed the first time. Digital storage is cheap, so there’s no reason not to record multiple takes of each scene (and don’t forget to create backups of your footage as you go). Even if you think you got it on the first take, do another one, just in case you spot something that needs to be cut out in editing later on. Also, give yourself a few seconds of extra footage at the beginning and end of each take; this will give you breathing room to be able to cut into and out of the scene as needed. It’s also a good idea to record a bit of footage in each location just to collect background noise. The ambient sound of every space will be a little different, and you may need a little bit of that sound to fill in gaps later on.

How to Edit a Video, Step by Step
Once you’ve recorded everything for your video, here’s how to put it all together:
1. Get Organized
Create an organizational scheme for your files so that you can easily find what you need. Use clearly labeled folders and subfolders to keep track of which elements go with which scene and in which order.
2. Create an Outline
Sketch out how you want the finished video to look and sound, which will give you a clear goal to aim for as you edit. If your goal includes narration, now is also the time to write and finalize the script and record the audio.
3. Don’t Be Afraid to Cut
It’s easy to get attached to the footage you worked so hard to capture, but part of editing is cutting out things you don’t need. You may need to make some tough choices to achieve your overall vision.
4. Establish the Scene
Using establishing shots helps the viewer to put what they’re seeing in context and feel more immersed in the setting. Resist the urge to focus only on up-close action.
5. Change Locations or Time Periods With Match Cuts
A match cut is a transition that relies on matching up something visually between the two clips. For example, you might show someone throwing a ball up in the air and then cut to another person catching a similar-looking ball. One of the most famous examples of a match cut is in 2001: A Space Odyssey, when an ape throws a bone into the air and then the film cuts to a similarly shaped satellite moving through space.
6. Use Transitions Wisely
You don’t always need fancy transitions between clips, and overusing them can diminish the impact of your message. If you’re putting together two clips in the same scene, you may not need any transition at all. If you need a transition between scenes, keep it simple with a dissolve.
7. Pace Yourself
The lengths of the clips used can set the rhythm for a scene, making it feel faster and more intense or slower and more contemplative. Shorter clips can set a faster pace, while a slow-paced scene may only use one or two long clips. Avoid too many abrupt changes in pace, which can feel disconcerting to the viewer.
8. Consider Your Color Scheme
Slightly adjusting the coloration of your footage can help to establish a certain tone. You can use digital color correction to achieve this effect, but be careful not to overdo it.
9. Don’t Forget About the Audio
You can’t make a good video without good audio quality. Adjust the audio levels to make sure that the dialogue can always be heard and that the volume is consistent between clips. Audio adjustments can also be a key part of connecting two clips in a scene or transitioning between two scenes. For instance, a J cut plays the audio of the following scene over the video of the current scene, while an L cut carries the audio from the current scene into the next scene.
10. Add a Soundtrack
Music should help to set the tone of a scene without overpowering it. Just be sure to only use music that you’re legally allowed to use; either choose royalty-free music or get permission from the copyright owner. If you don’t want to use music in a particular part of the video, use some of the extra background audio you recorded to fill the silence. Complete silence should be used judiciously and intentionally.
11. Choose a Video Format
When you’re finished editing your video, export the file to an appropriate file format. Different formats can be better for different purposes. For instance, AVI files are supported by most platforms and known for high-quality output, while MPEG files are smaller, making them easier to share with others. For most situations, MP4 will be a good choice, as this format will play on most systems and devices and offers a good balance between quality and file size. It’s also the recommended format for YouTube uploads.

Which Software Should You Use?
There are lots of video editing programs out there, ranging from simple tools to highly advanced, professional-level utilities. Asking yourself two questions can help you pick the right software for your project:
How Big Is Your Project?
If you’re making a feature-length movie or plan to use CGI, you’ll need software like the pros use. Take a look at programs like Adobe Premiere Pro, Final Cut Pro, or DaVinci Resolve, which should have all of the advanced features you need for your project. On the other hand, if you’re making a shorter, simpler video, you may not have to install any software at all. Most computers come with video editing tools, like iMovie or Clipchamp, and what you already have might be good enough for your needs.
How Powerful Is Your Computer?
If you’re working on a small laptop, it may not have the processing power to run professional-grade editing software. Check the hardware requirements for any video editing program before installing it to make sure that your computer is up to the task.

Additional Resources
- Ten Tips for Editing Home Videos Like a Pro
- How to Edit YouTube Videos
- A Beginner’s Guide to Film Editing Terms
- Basic Film Shots and How to Frame Them
- Video Editing for Beginners
- Types of Film Shots You Must Know
- How to Format and Create a Shot List
- Video Editing in Post-Production
- Movie Theater Seating
- Types of Cuts in Film
- Video Editing Basics
Home Theater Seating